
How I Develop Film
Here’s a quick guide to develop B&W film at home!
Developing black and white film at home is very easy! I will go in depth on what equipment and chemicals I use as well as how to use them. For simplicity, I will concentrate on 35mm film. All the steps are the same for developing 120 film aside from minute differences when loading the film into the development tank. I find loading 120 to be easier than 35mm, but I had a strip of 35mm I already sacrificed for the sake of practicing.
I have consolidated a majority of the items needed to develop film here! I am not affiliated with B&H Photo in any way, but I have had excellent experiences with them and they provide expedient shipping.
Items:
Patterson Development Tank
Changing Bag (Amazon)
Latex Gloves (optional)
Scissors
3x Graduated Cylinders
Scale (optional)
Thermometer
Developer
Stop Bath
Fixer
Film Squeegee
Binder Clips (for drying)
Step 1: Loading
This part may seem daunting since the film will be removed from it’s light-proof housing, but I promise the changing bag and Paterson reels are easy to use. Prior to unrolling the film from the film canister, it’s important to wash your hands to prevent any dirt or grease from contacting your negatives while handling them. Prior to loading the film, place your scissors and development tank inside the changing bag.
Cut the leading edge of the 35mm negative so you have an edge at the full width of the 35mm negative. To minimize chances of jamming, it really helps to round the leading edge corners as well (Here is a good example on YouTube). Since the first four or so inches of the negative have already been exposed to light when it was loaded into the camera, you can feed the leading edge into the reel system before moving it into the changing bag, but this is entirely up to you since you risk pulling too much film out and ruining your photo. This is the trickiest part to the development process, but with a little practice you will not have any issues!

The Paterson reels work using a ratchet system. Once the negative’s leading edge is inserted into the reel, you simply twist the reel, which pulls the film through the guide grooves. My personal preference is to pull a few inches at a time out of the canister to avoid a pile of film in the changing bag. Once you have pulled all your film from the canister, find your scissors and cut the film as close to the canister body as you can. Finish loading the remaining few inches of film onto the reel.
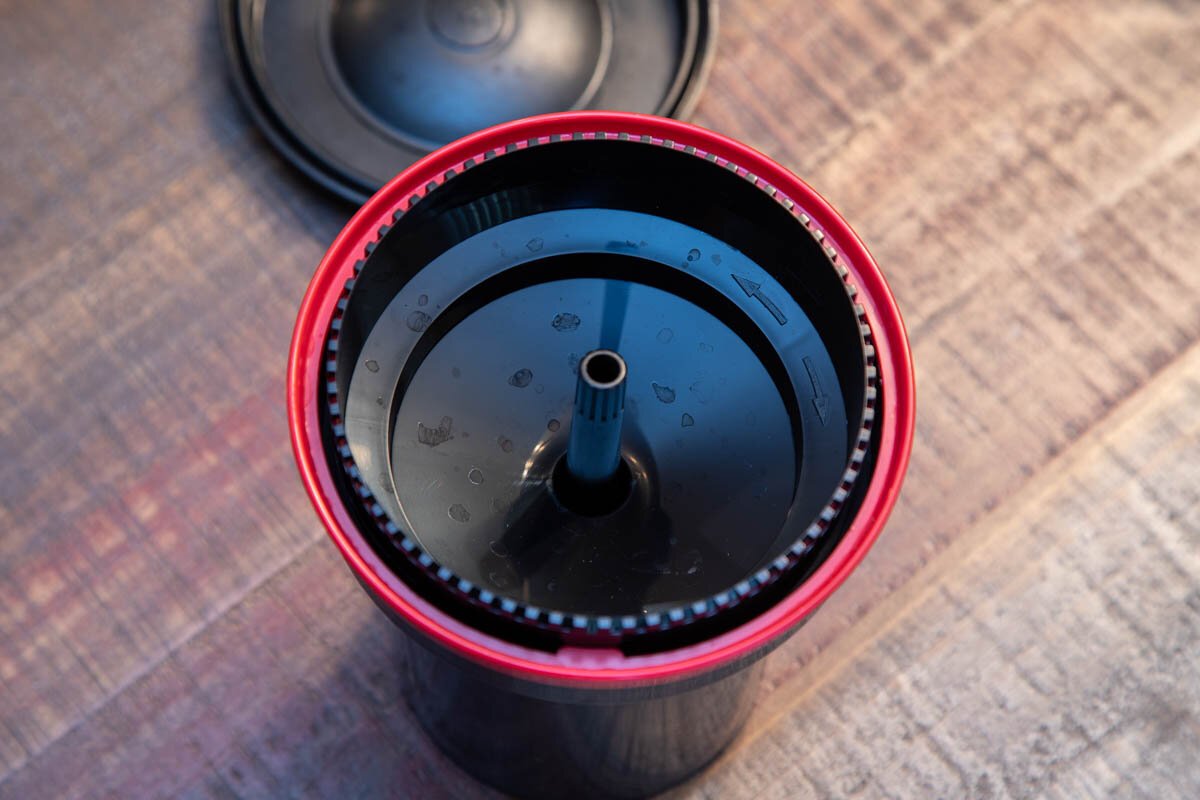
Next, place the reel of film into the development tank and seal as shown on the development tank instructions. Now you are set to open the changing bag and work with the development chemicals!
(The below images are what the process would like inside the changing bag)

STEP 2: DEVELOPING
There are quite a few options for chemicals, but I can only speak to the ones I have used. Since I primarily shoot Ilford film, I stick with Ilford chemicals. If you lost or threw away your film box, you can find Ilford’s development chart here.
When I attempted my first development, I had two graduated cylinders which was one too few. I thought I could get away with two based off the relatively lengthy development time, but I could not. Another issue I ran into was not having all the chemicals pre-mixed and at the right temperatures. It is important to pre-measure all your chemicals and ensure the solutions are at the appropriate temperature. Thankfully black and white film is pretty forgiving when it comes to required temperatures, so you don’t need to be exact, just close. Whichever chemicals you use, the included chart should tell you the acceptable temperature range.
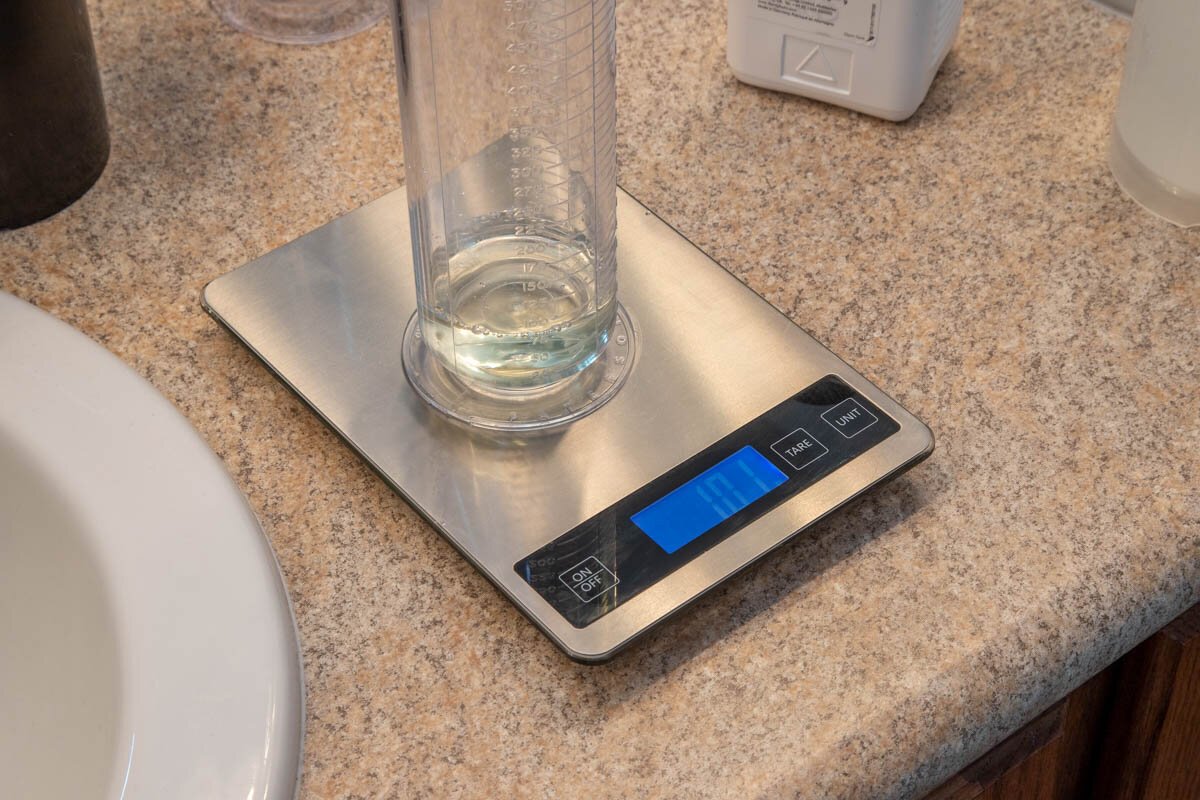
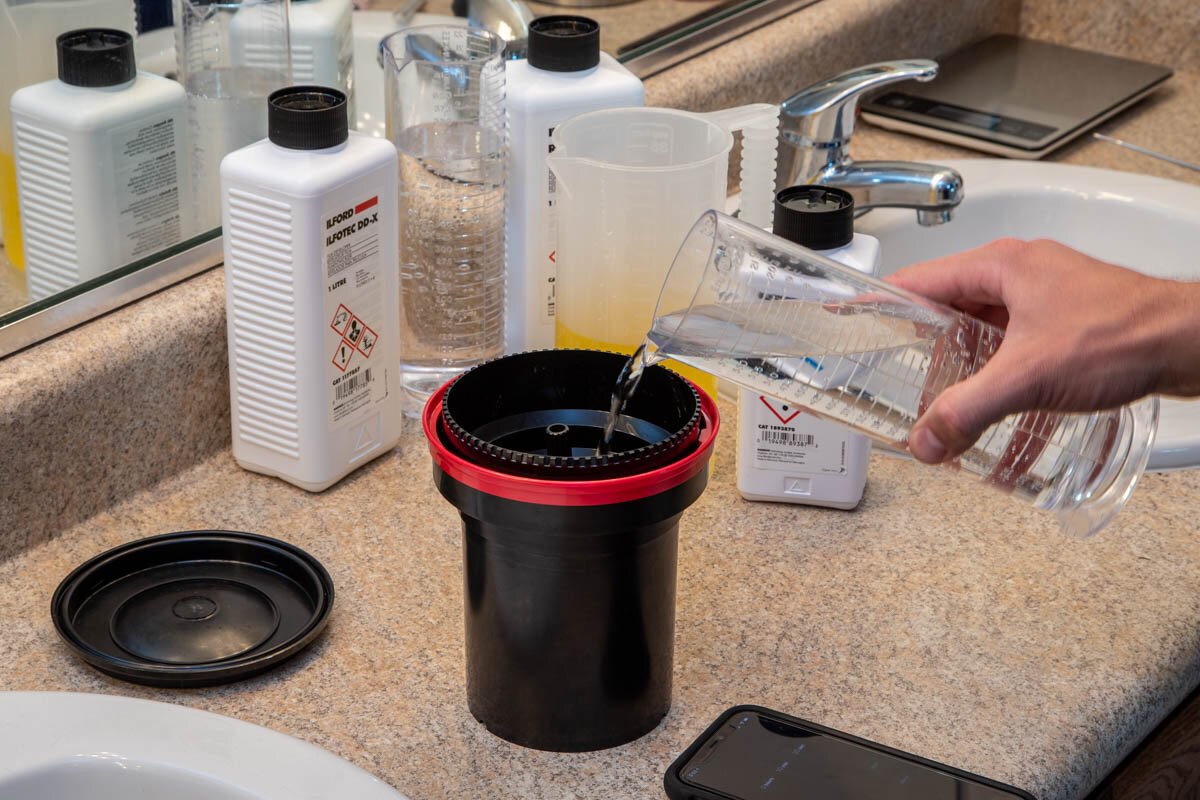
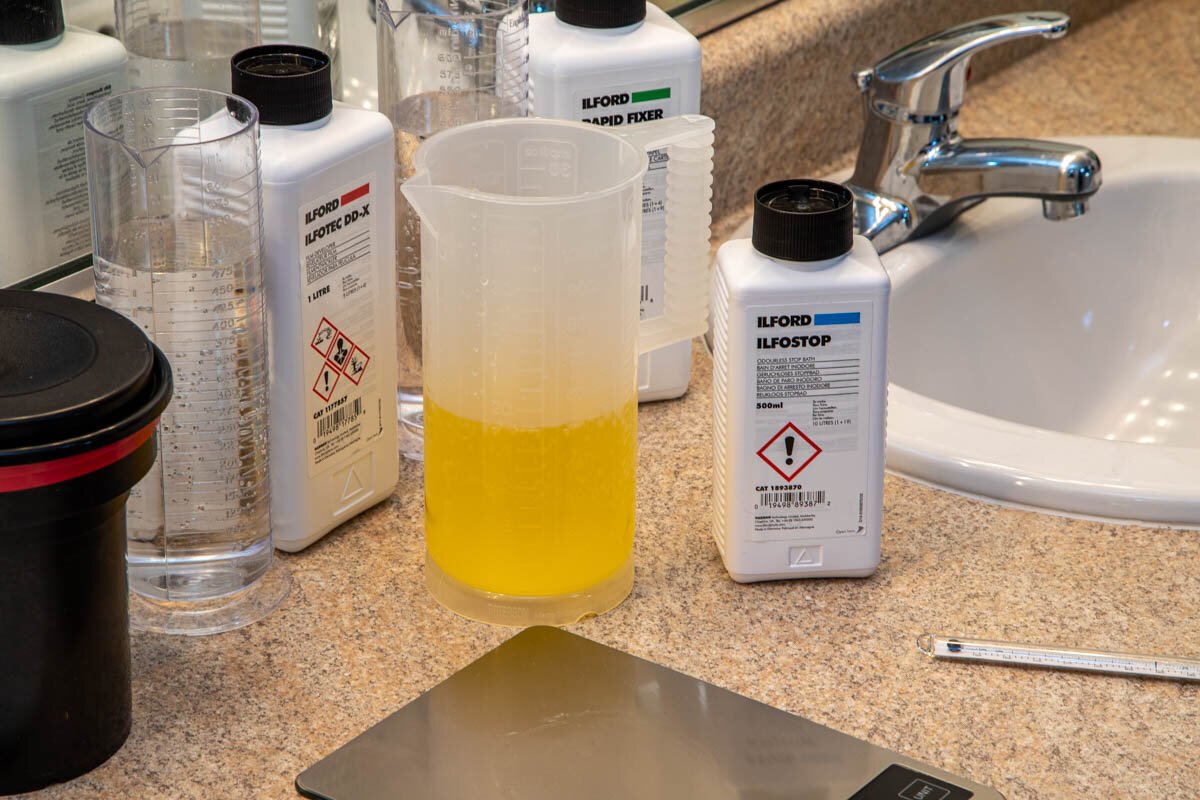
The developer requires a 1+4 solution of developing agent and water. That equates to 100ml Ilfotec DD-X and 400ml water.

Adding the water to the developing agent
NOTE—the Patterson tank has the required volume of solution for each size of film printed on the bottom. As for the mixture ratios, they are given on the front of the chemical bottle.
Once your chemicals are mixed, get a timer ready and start the process! First, begin by pouring the developing agent into the tank and start your timer, the development chart will outline required times for each step of the process. Within the first ten seconds of each minute, it is important to agitate the solution three to four times either by inverting the tank or using the agitation stick. During the agitation, bubbles may form in the solution. To prevent them from creating spots on your developed negatives, tap the development tank a few times after each round of agitation.
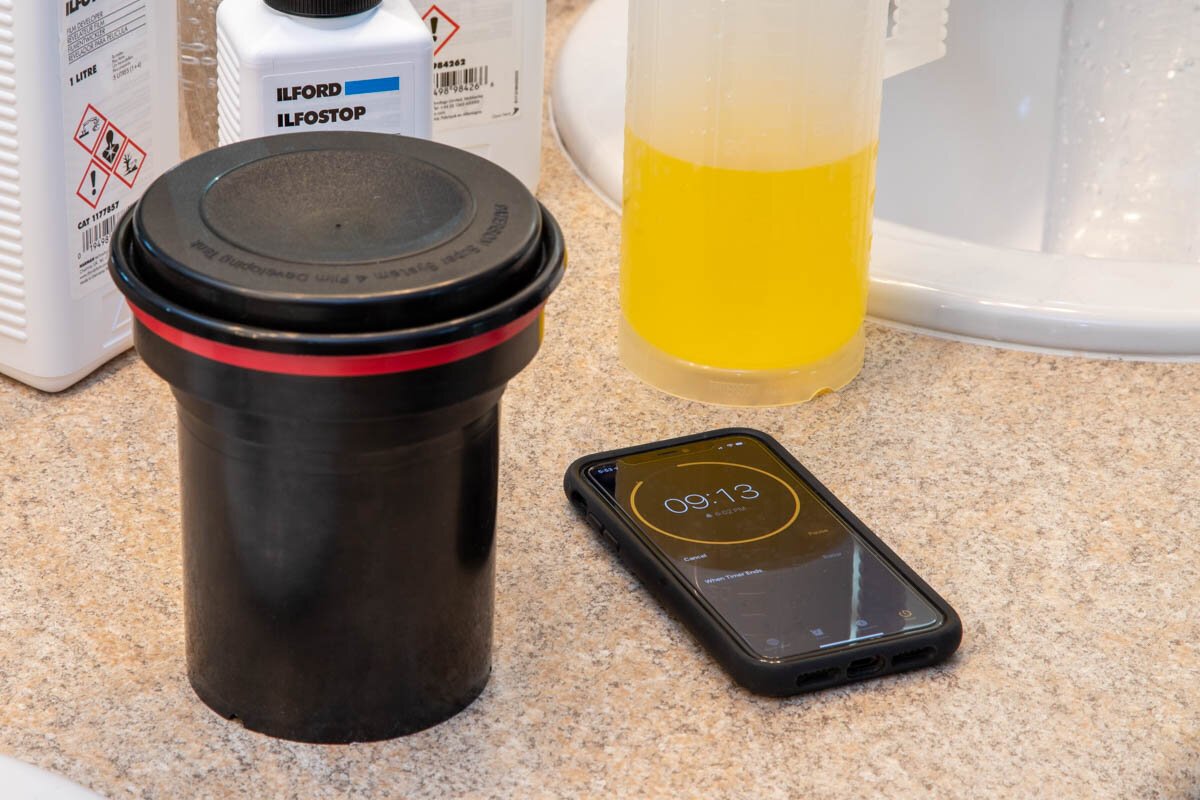
After the timer goes off, pour out your developing solution and promptly pour in the stop bath solution. This step is relatively quick for Ilford chemicals, only 10 seconds. The point of this step is to stop the reaction between the developing agent and the silver halide gelatin on the film negatives.
Follow the stop bath solution with the fixer. The fixer removes any unexposed silver halide from the film negative, which prevents darkening or fogging when you pull the negatives out of the tank. For Ilford fixer, it’s recommended to use the fixer for two to five minutes; I usually do three and a half and have yet to see an issue with darkening or fogging.
NOTE—Fixing solutions can be reused a couple times. I have not tried to reuse fixer more than twice, but I did not notice any issues after the second use so I feel comfortable reusing it for a third time.
The final step in this process is to rinse the film. Again, follow the development chart for rinse procedures, but I usually fill the development tank up with tap water ten to eleven times and then let the water run through the tank for another three to four minutes.

STEP 3: DRYING
After the rinse is complete, it’s time to open your development tank and discover how your photographs turned out! Pull the negative from the development reel and gently run the film through the squeegee once or twice depending on how wet the negative is.
Now hang from the binder clips to dry and you are complete! To prevent the film from warping, I use two clothes pins attached at the bottom as a weight.
If you have any questions or advice, feel free to reach out.